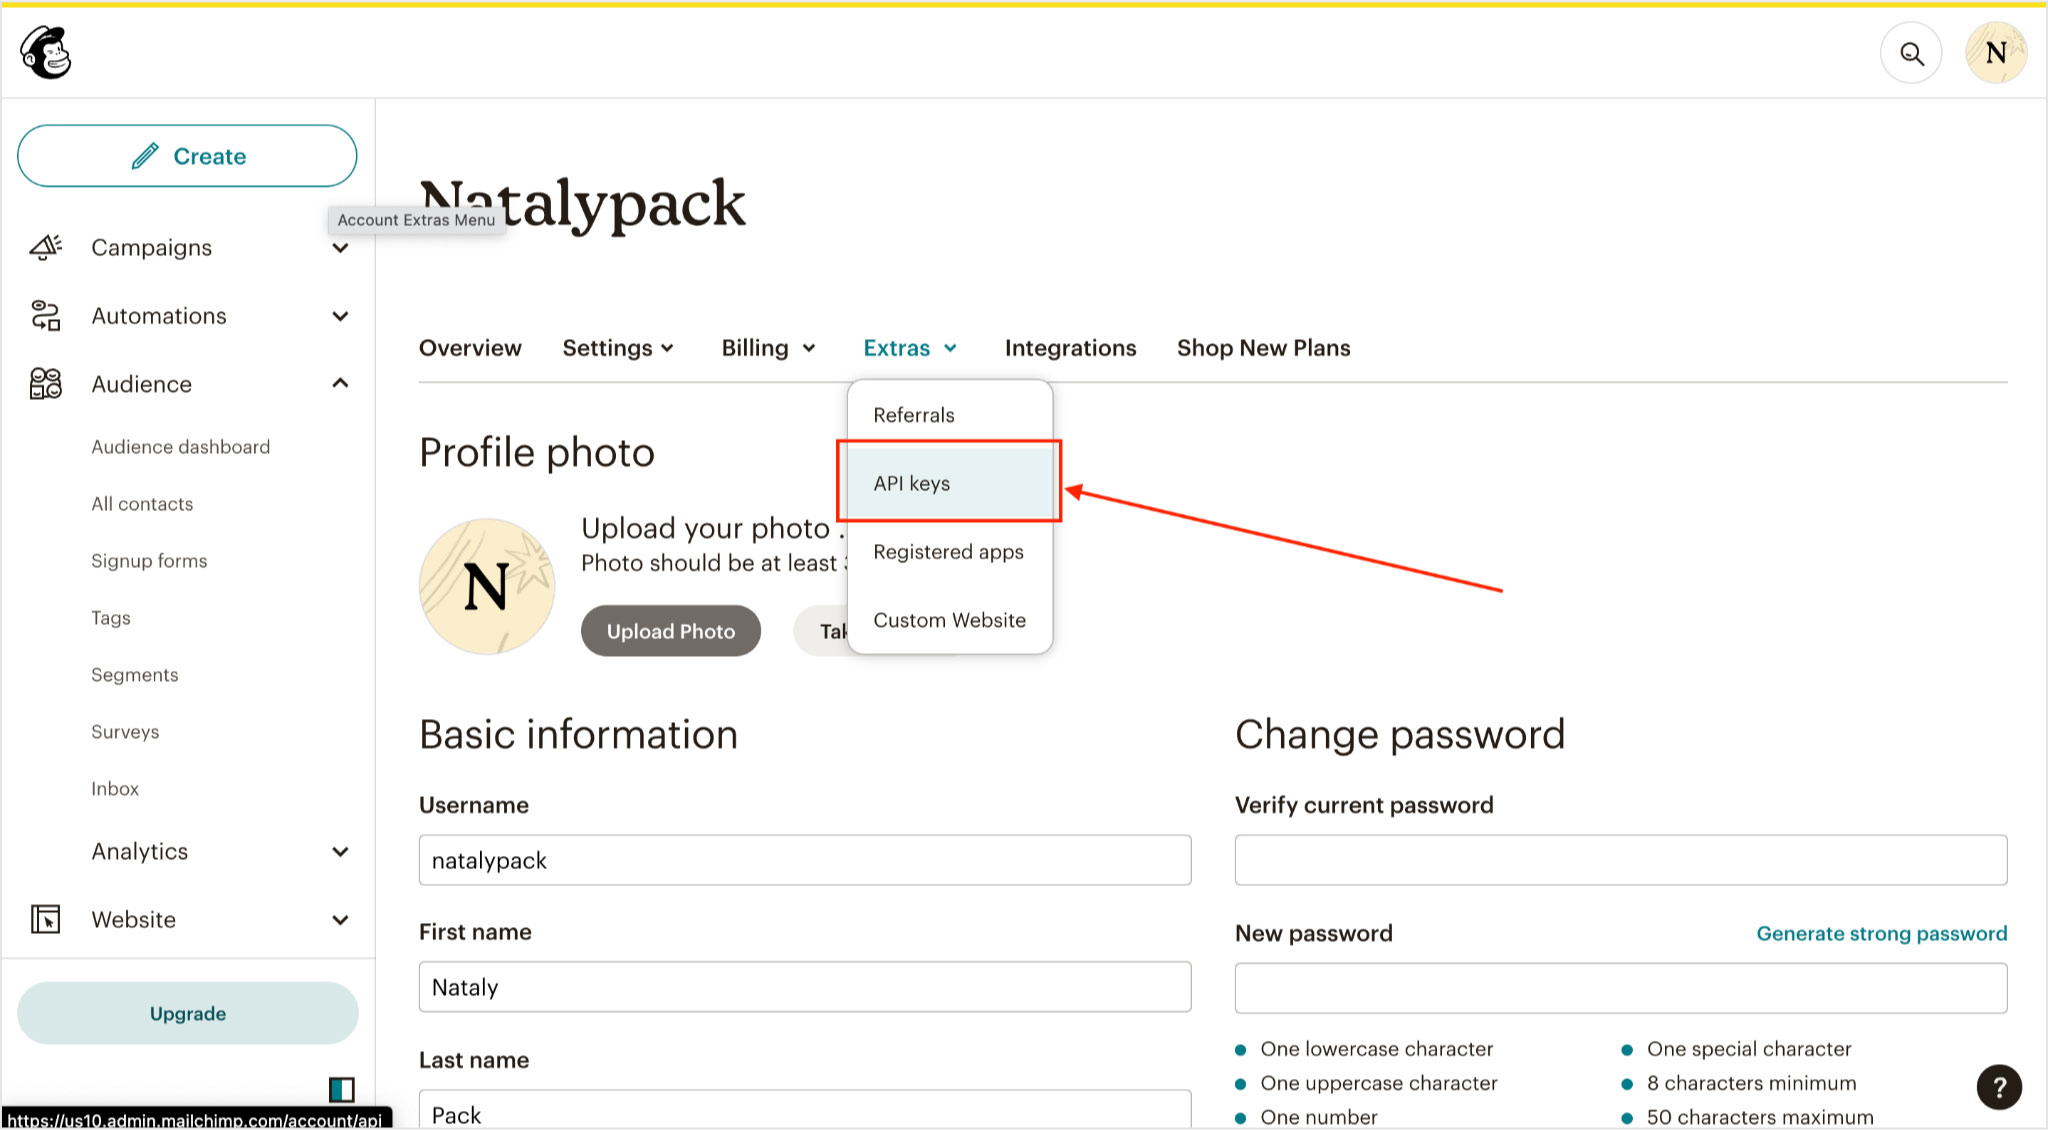
- Click on your Account icon in the upper right corner and go to your Profile settings:
2. Then go to the menu Extras -> API keys.
3. Click the Create New Key button.
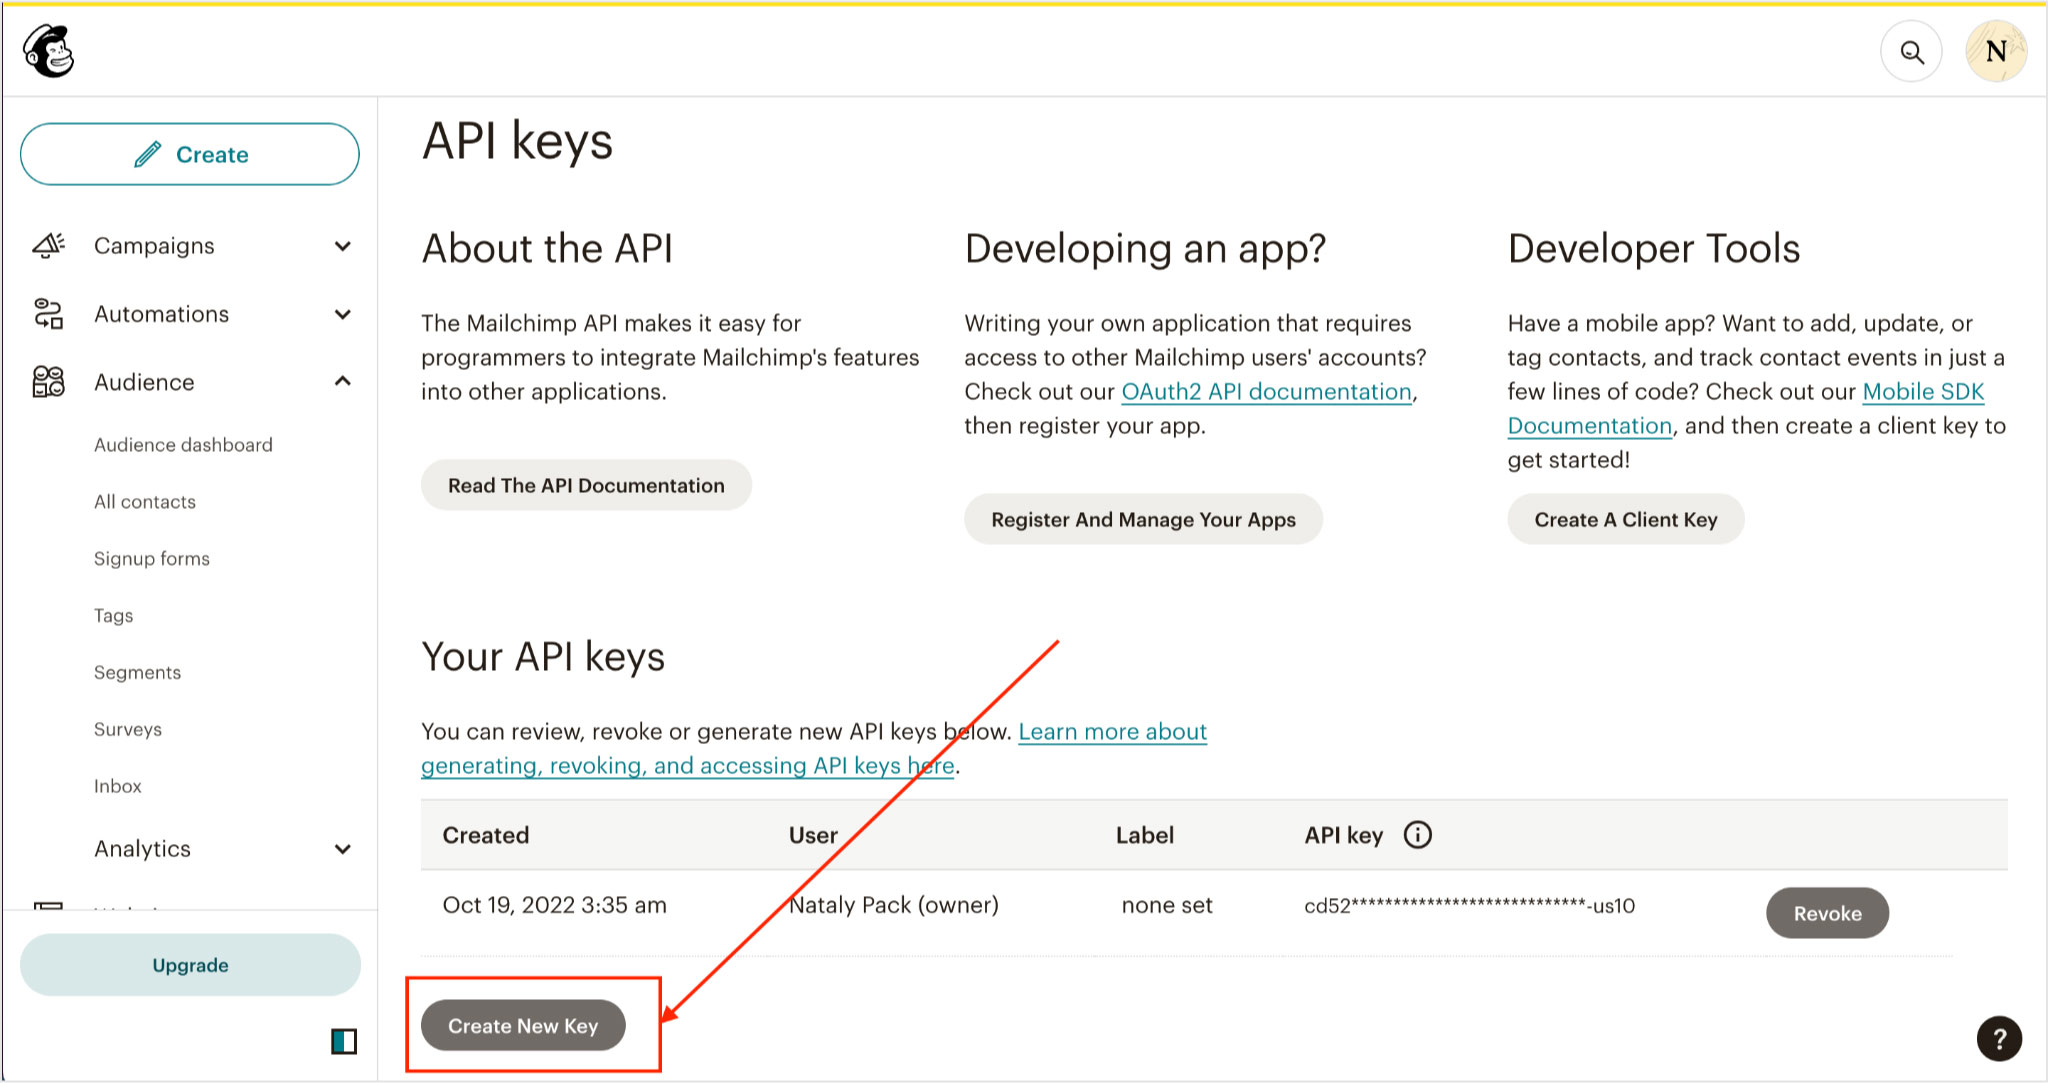
4. Enter the name of the API key and click Generate Key. Copy and save the generated API key somewhere.
5. Then go to plugin General settings, paste the saved API key into Mailchimp settings and click Connect. If the key is OK, you will see a selection of Audience lists.

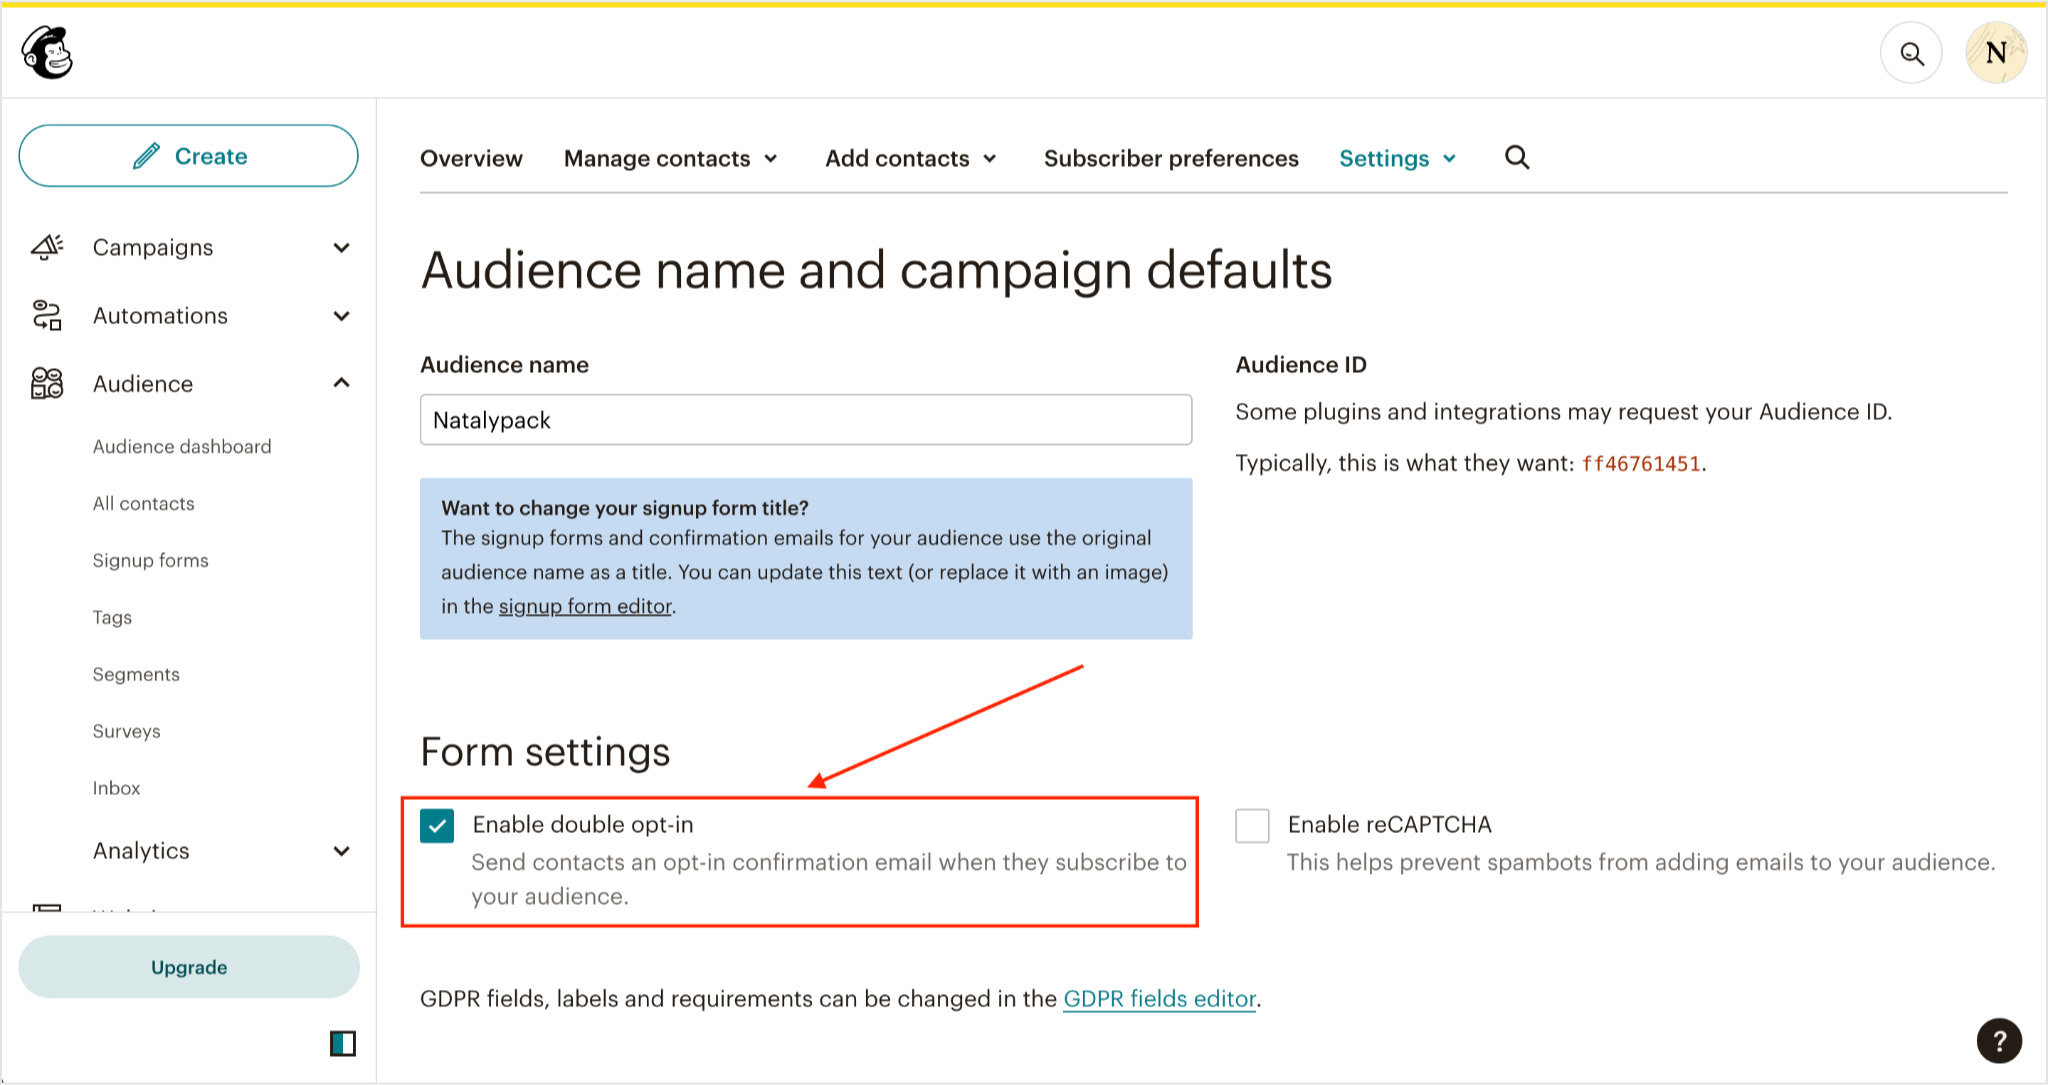
Setting up the Double Opt-in.
- Send contacts an opt-in confirmation email when they subscribe to your audience. Check the Enable Double Opt-in checkbox in the Calculator settings.
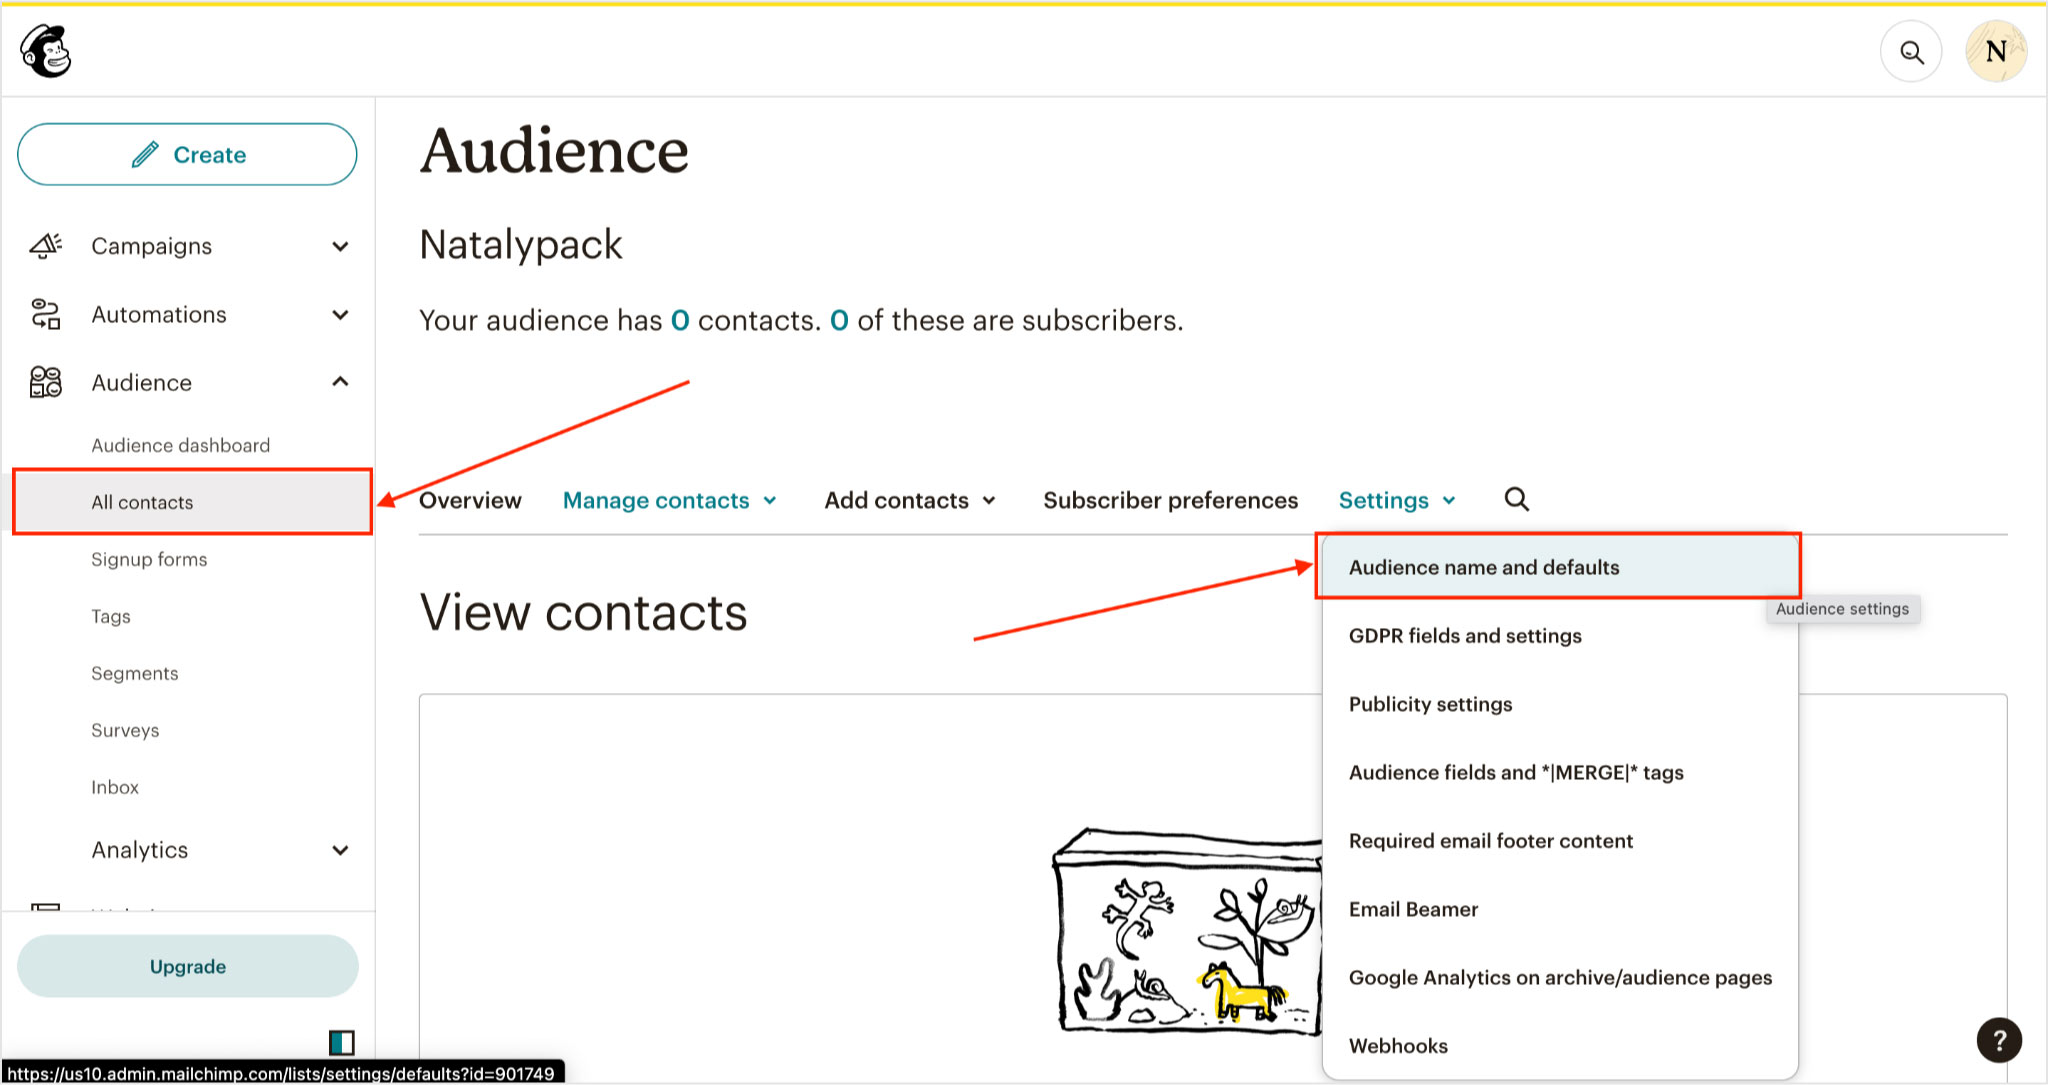
2. Go to the Mailchimp account audience settings and check the Enable double opt-in checkbox there as well.
Synchronization of the calculator fields with the audience fields.
The Email, Firstname, Lastname, Phone fields are preset in Mailchimp and require no additional action.
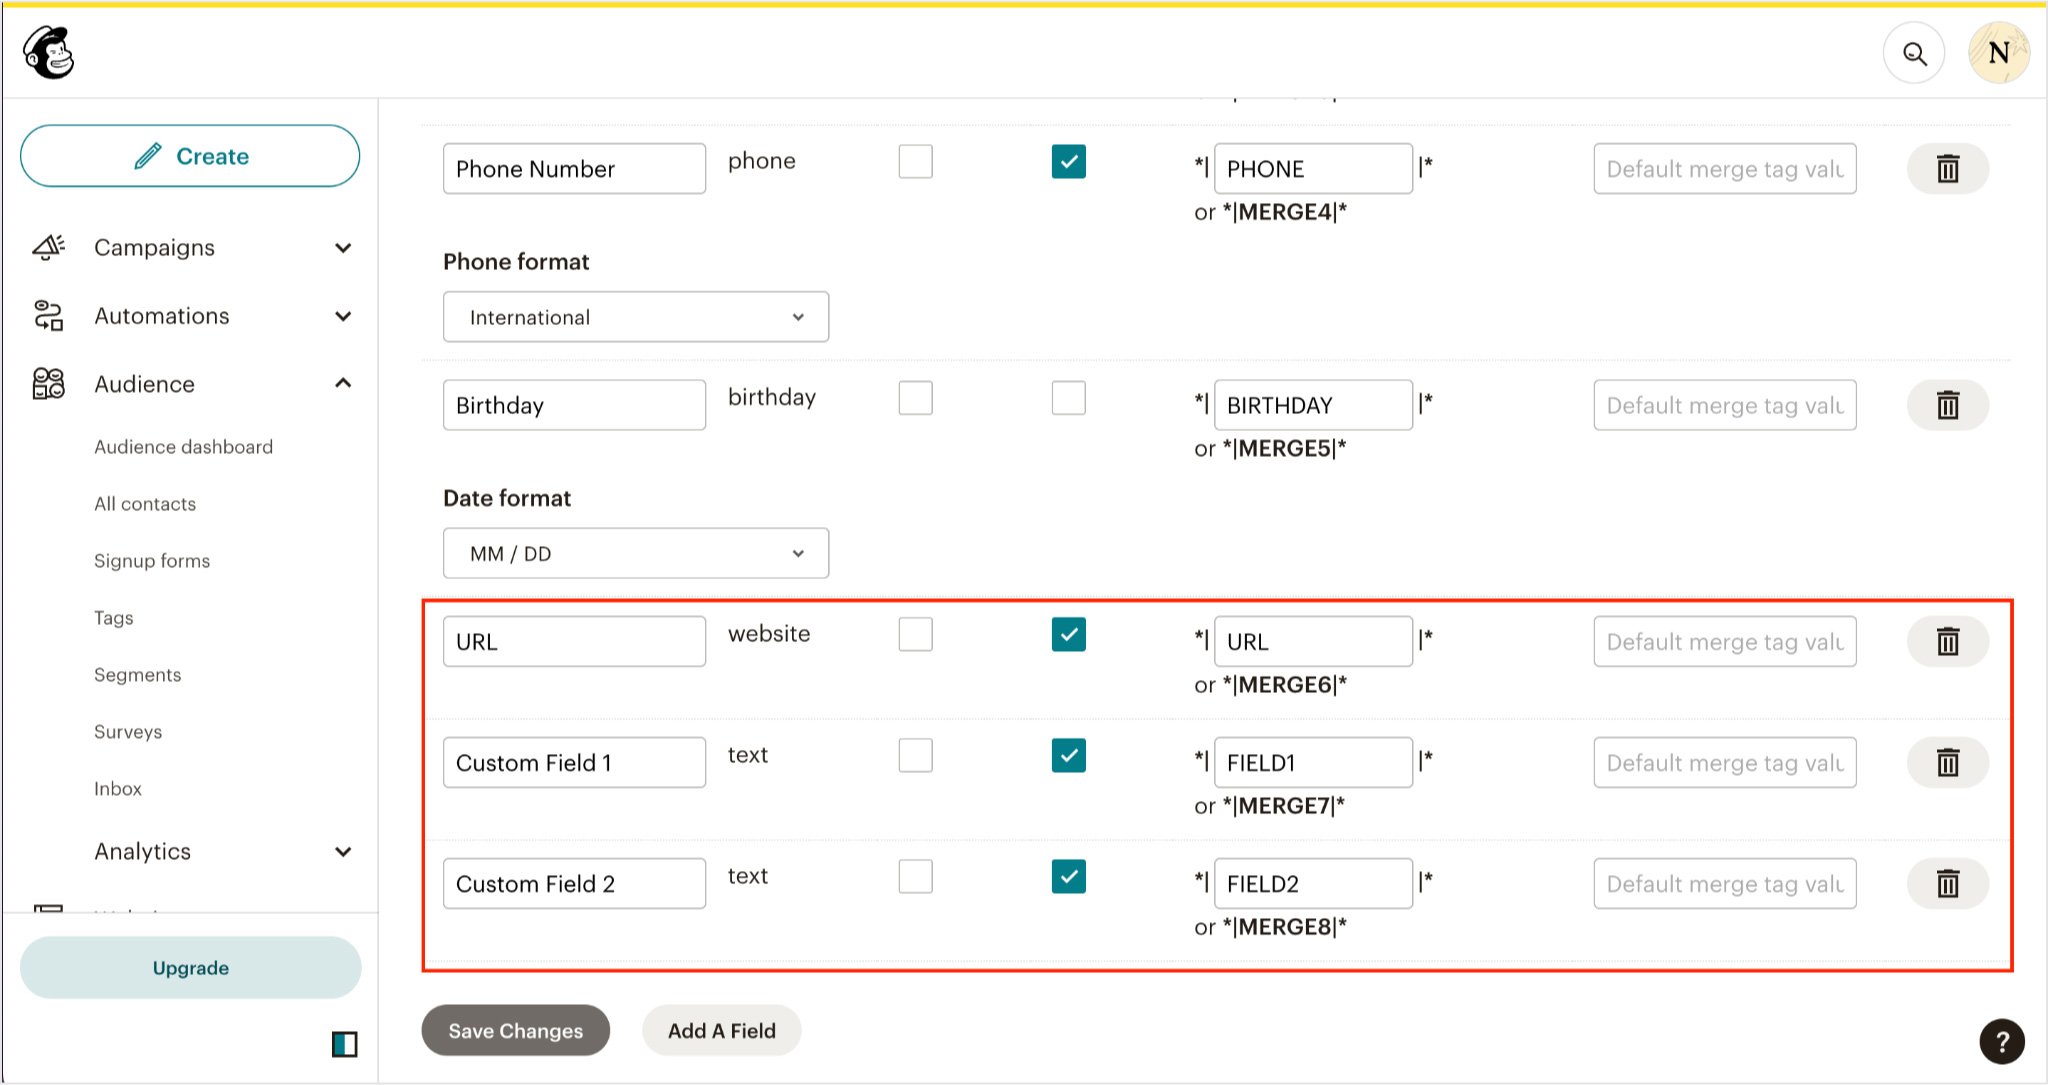
- Go to Audience menu Settings -> Audience fields and *|MERGE|* tags.
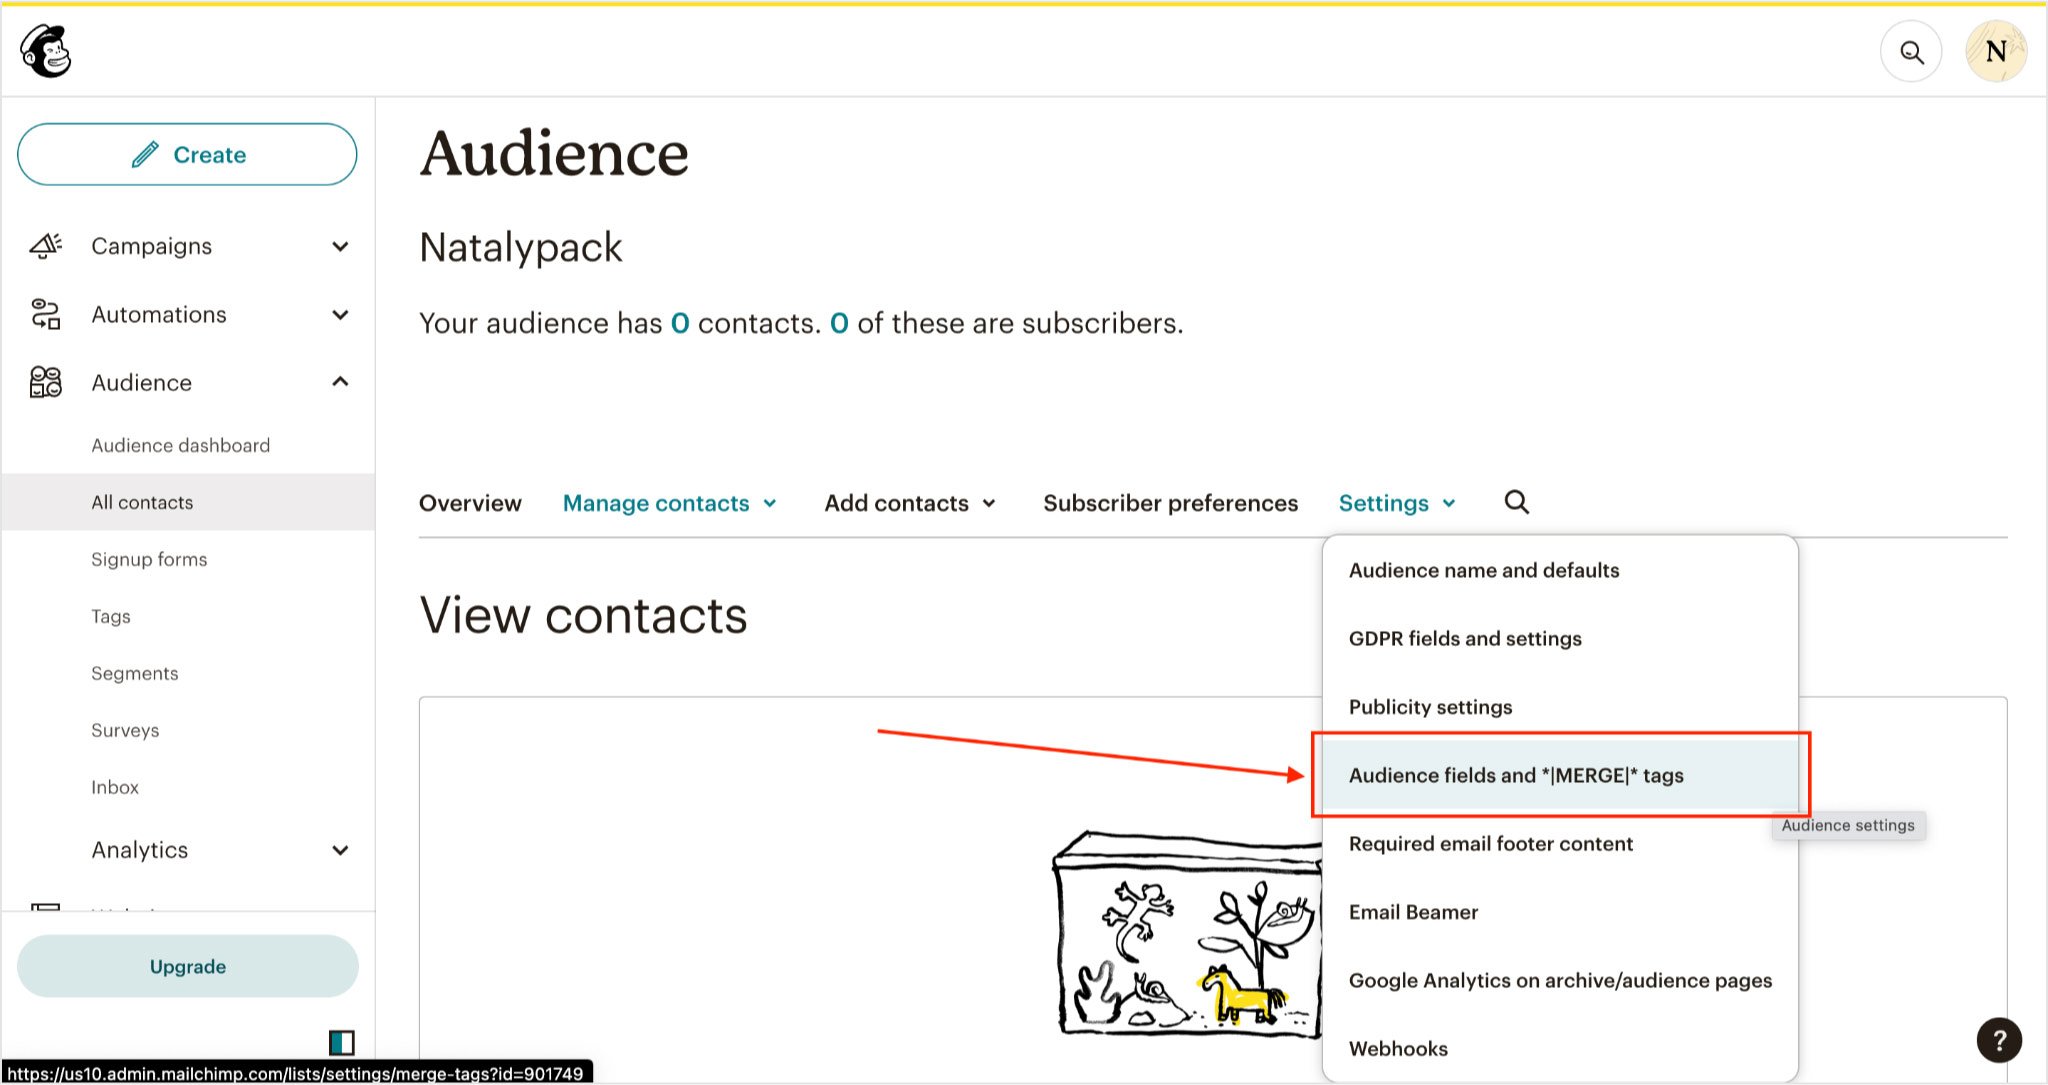
2. Click Add a Field at the bottom of the list of fields and add the fields you want to send to Mailchimp. The field tag (URL, FIELD1, FIELD2) must be the same as the one specified in the calculator settings! Click the Save button.